By
By
We’ve all been there—your favorite jeans develop a tear, or that comfy sweater starts to unravel. But before you toss them aside, why not try your hand at repairing your clothing? With a little know-how, you can extend the life of your wardrobe, save money, and even add a bit of personal flair to your clothes. Whether you’re new to mending or looking to refine your skills, this guide will walk you through some essential techniques to keep your garments going strong
The Magic of the Elastic Stitch
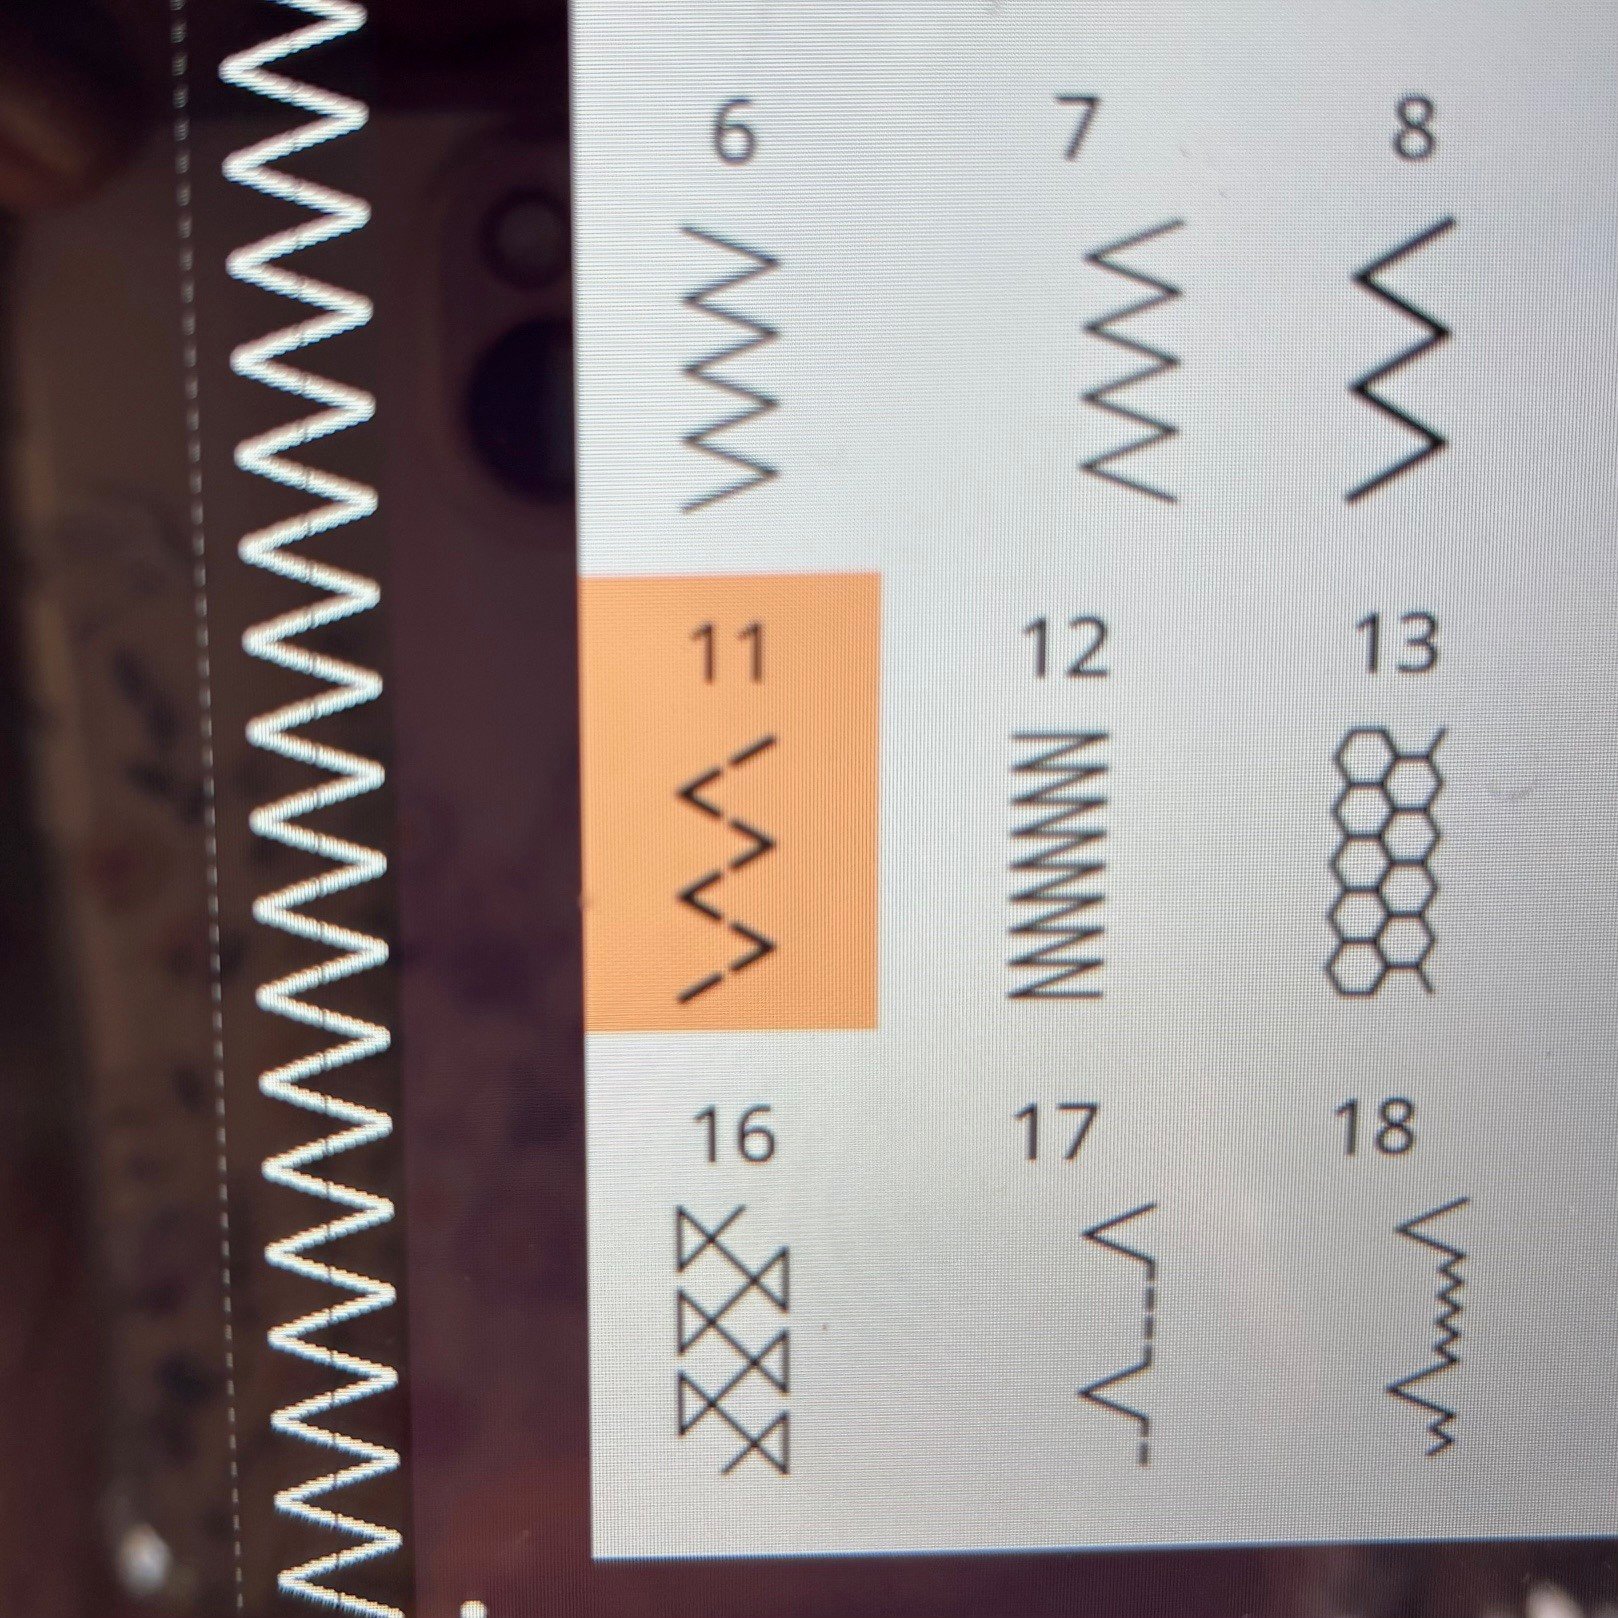
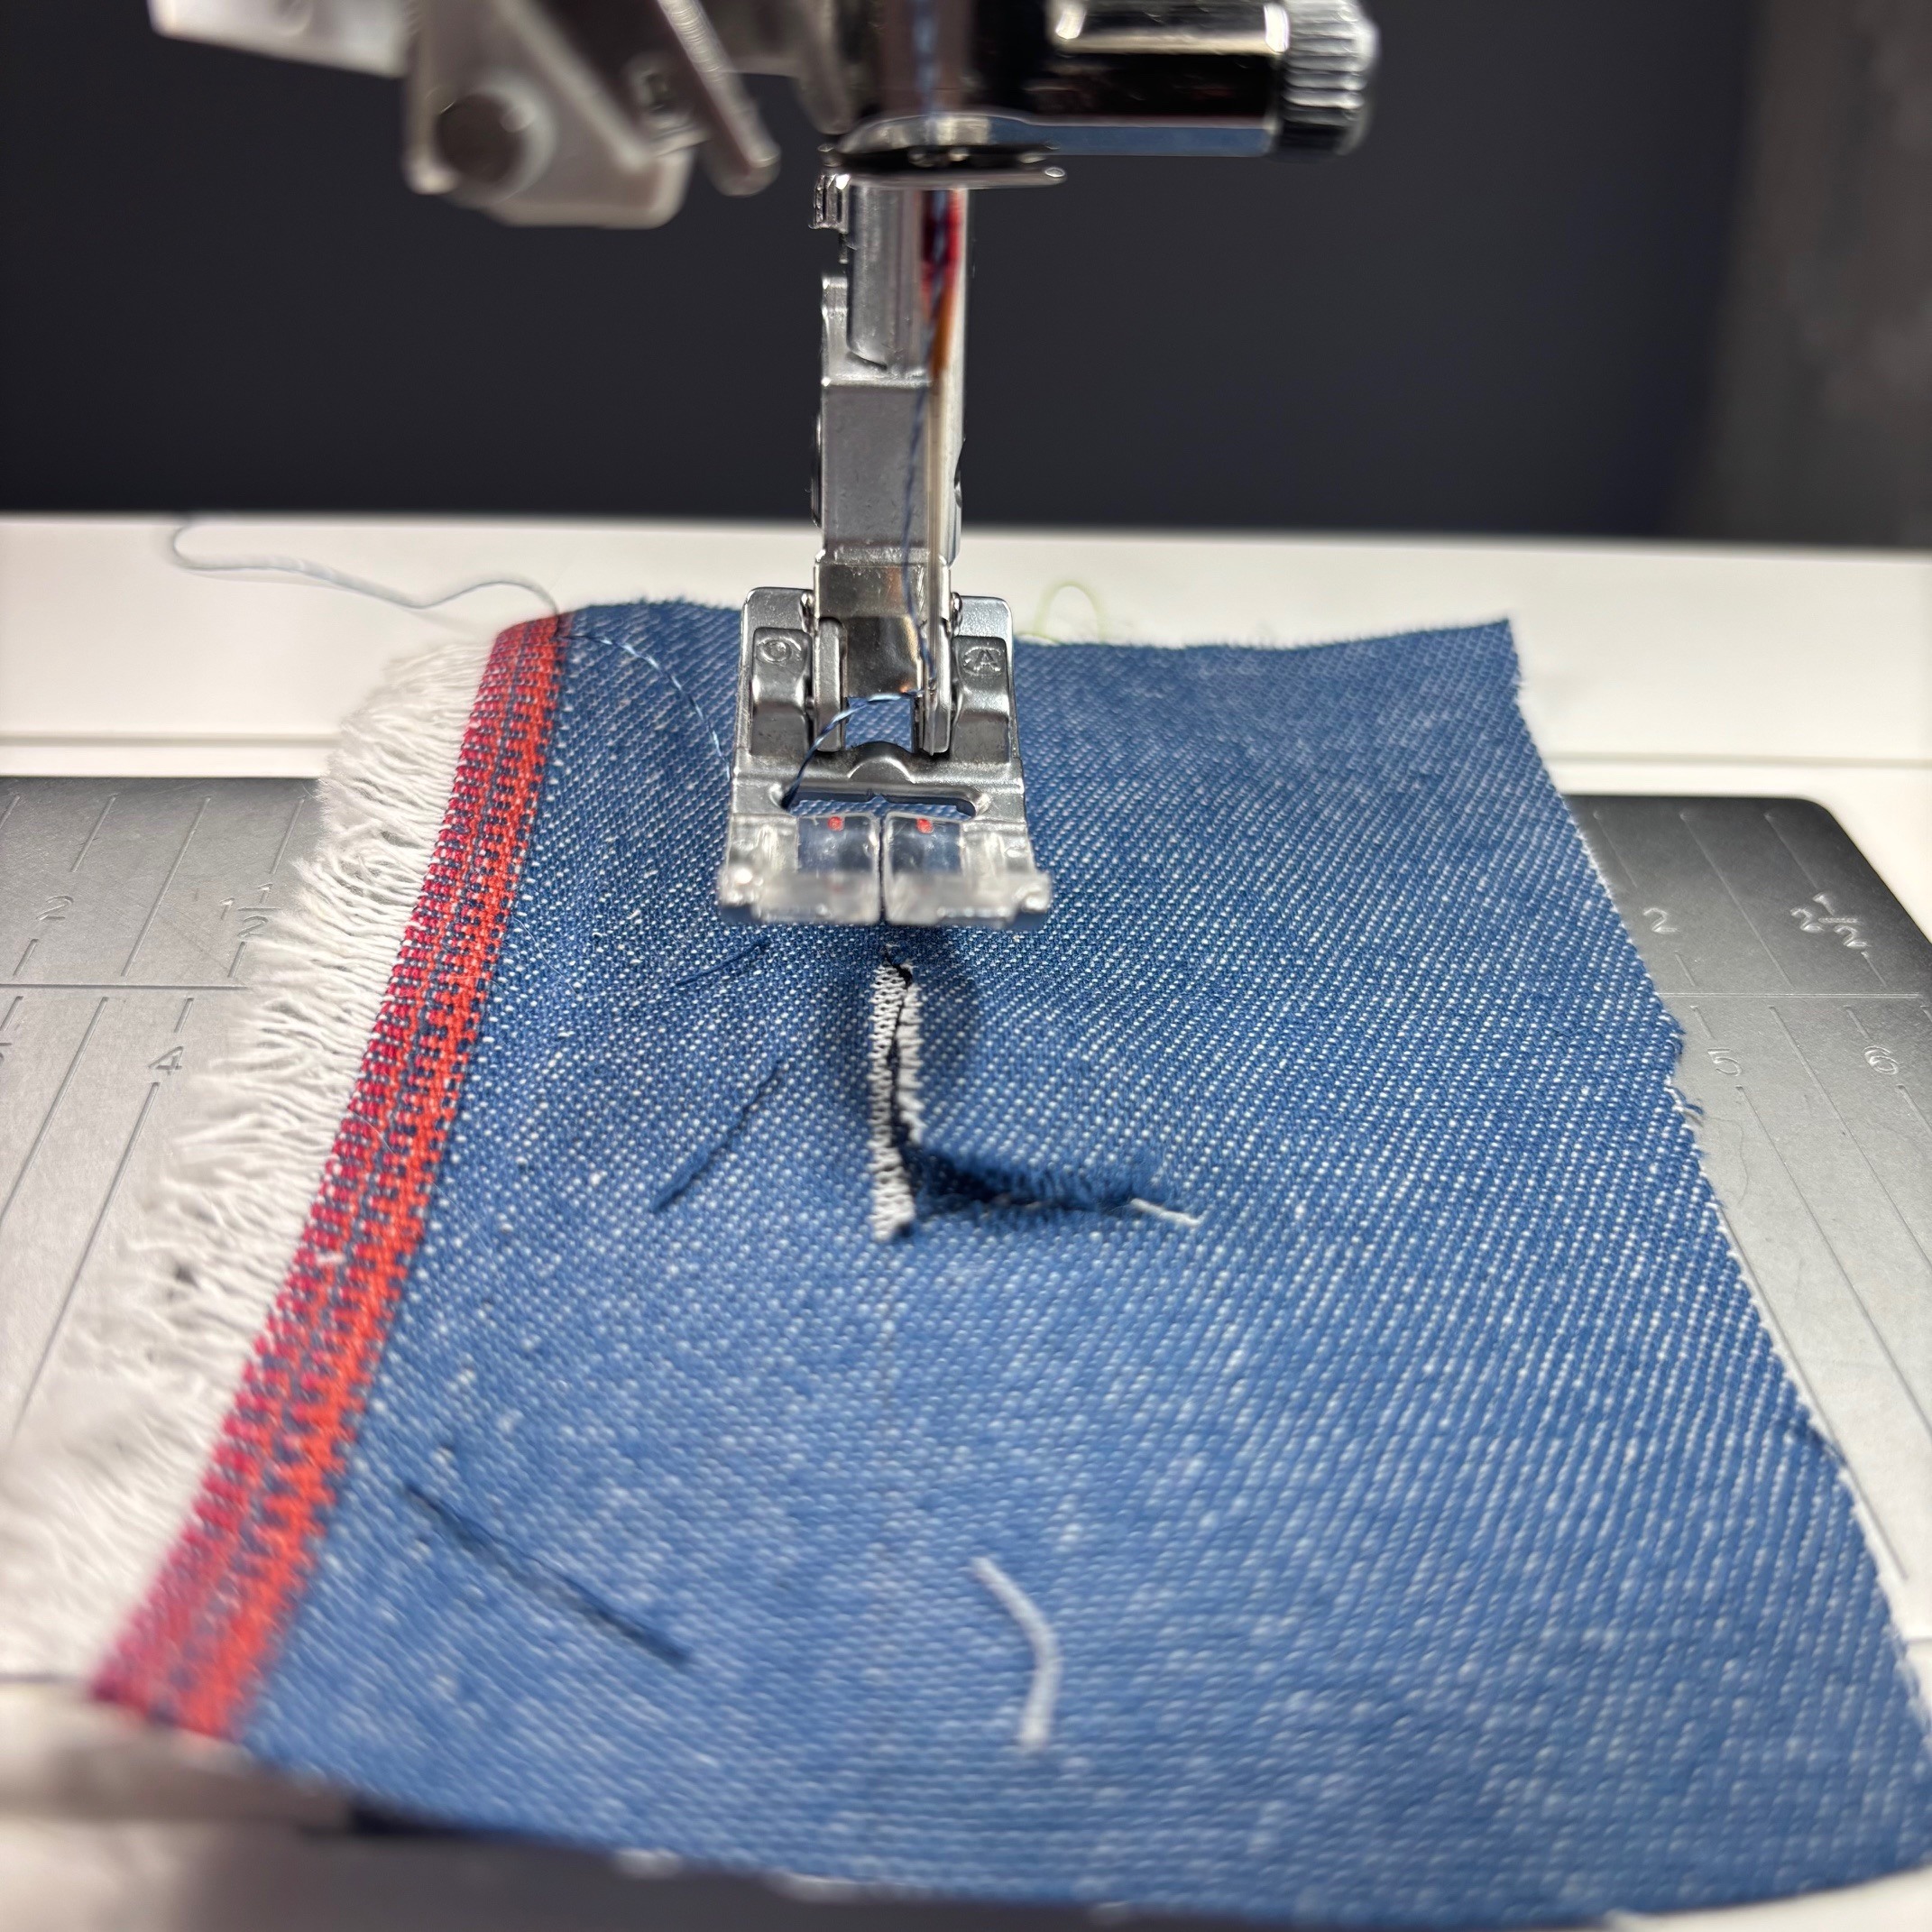
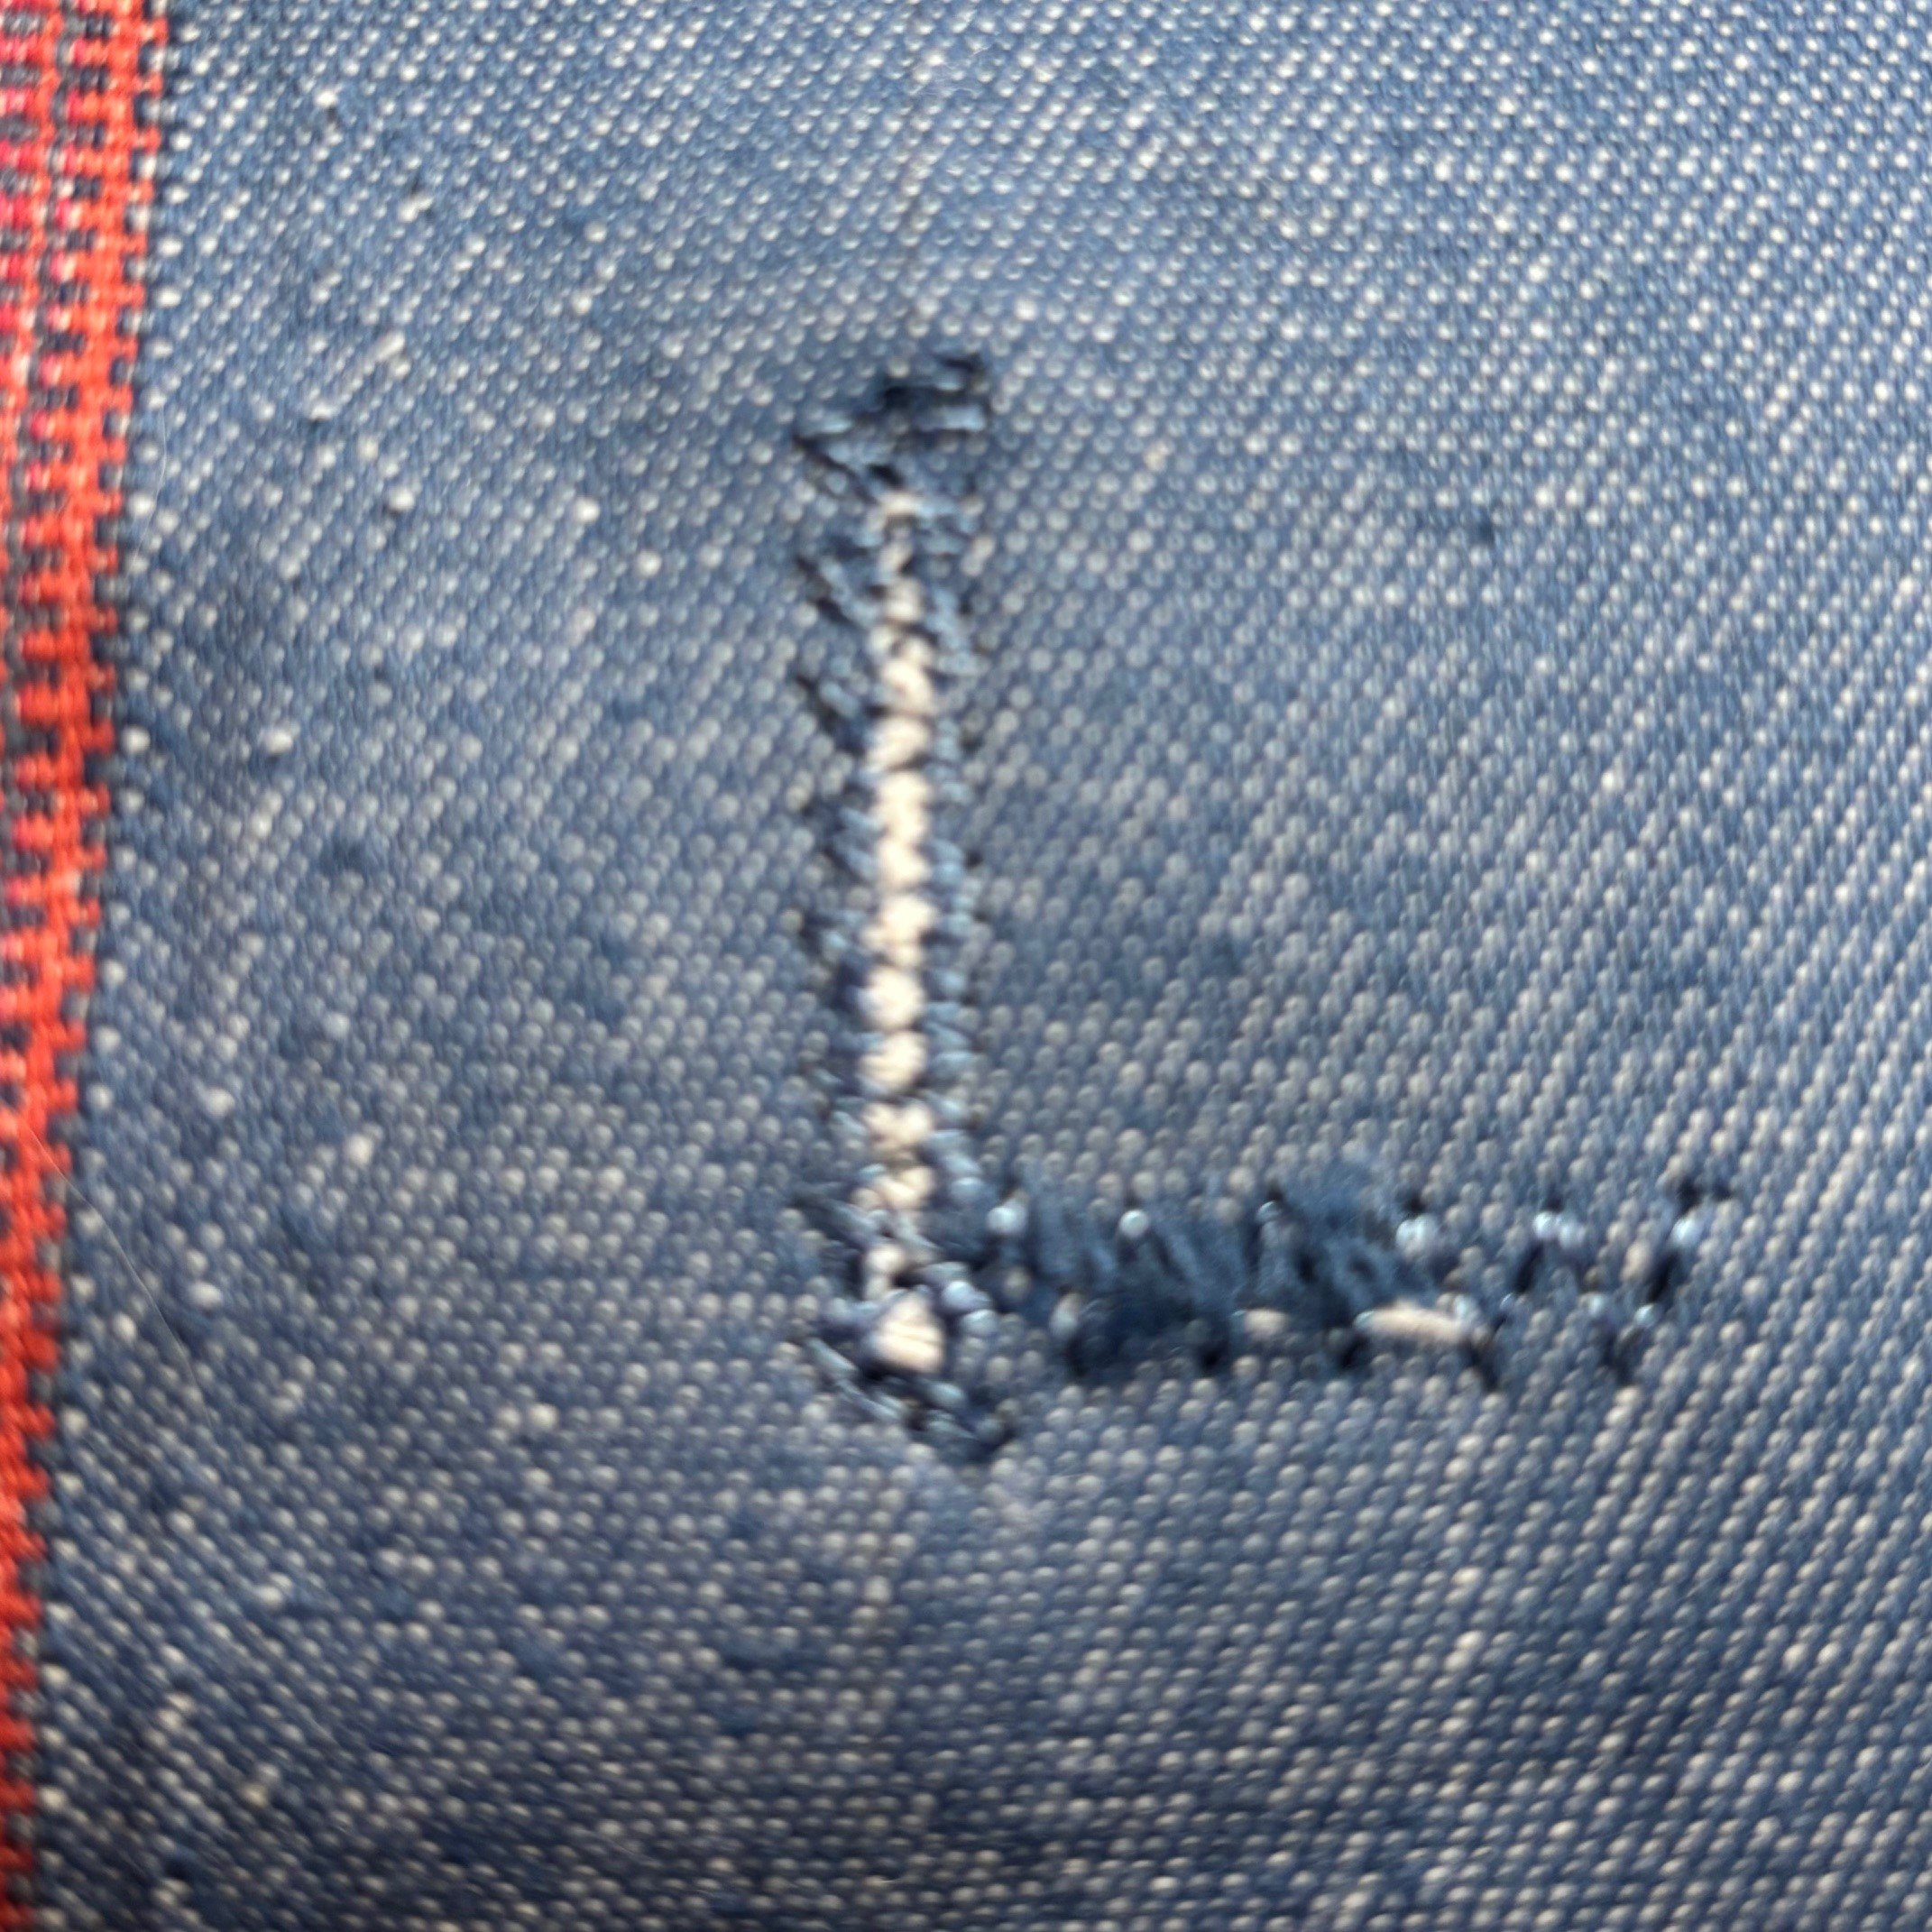
One of the best-kept secrets in clothing repair is the elastic stitch. This versatile stitch is perfect for fixing seams that need to stretch, such as those on leggings, t-shirts, or athletic wear. If you use a straight stitch on stretchy fabrics, the thread can snap when the fabric stretches. An elastic stitch, on the other hand, moves with the material, ensuring your repair holds up over time.
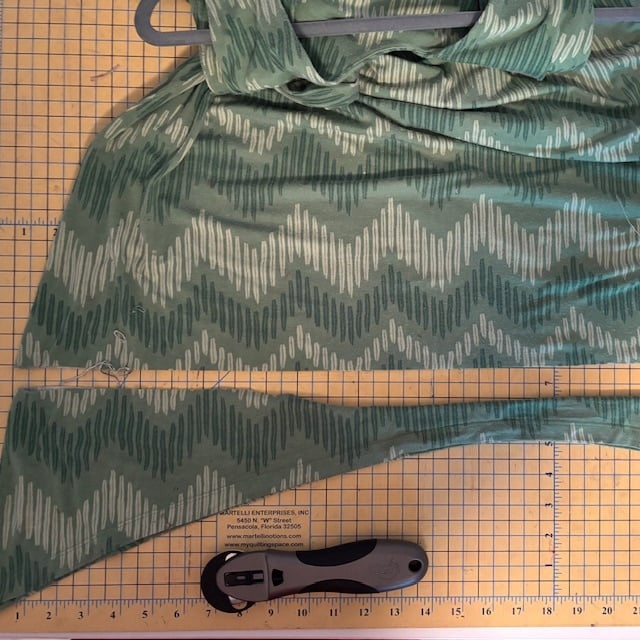
First, I starch and press the area to be repaired, making the fabric more manageable.
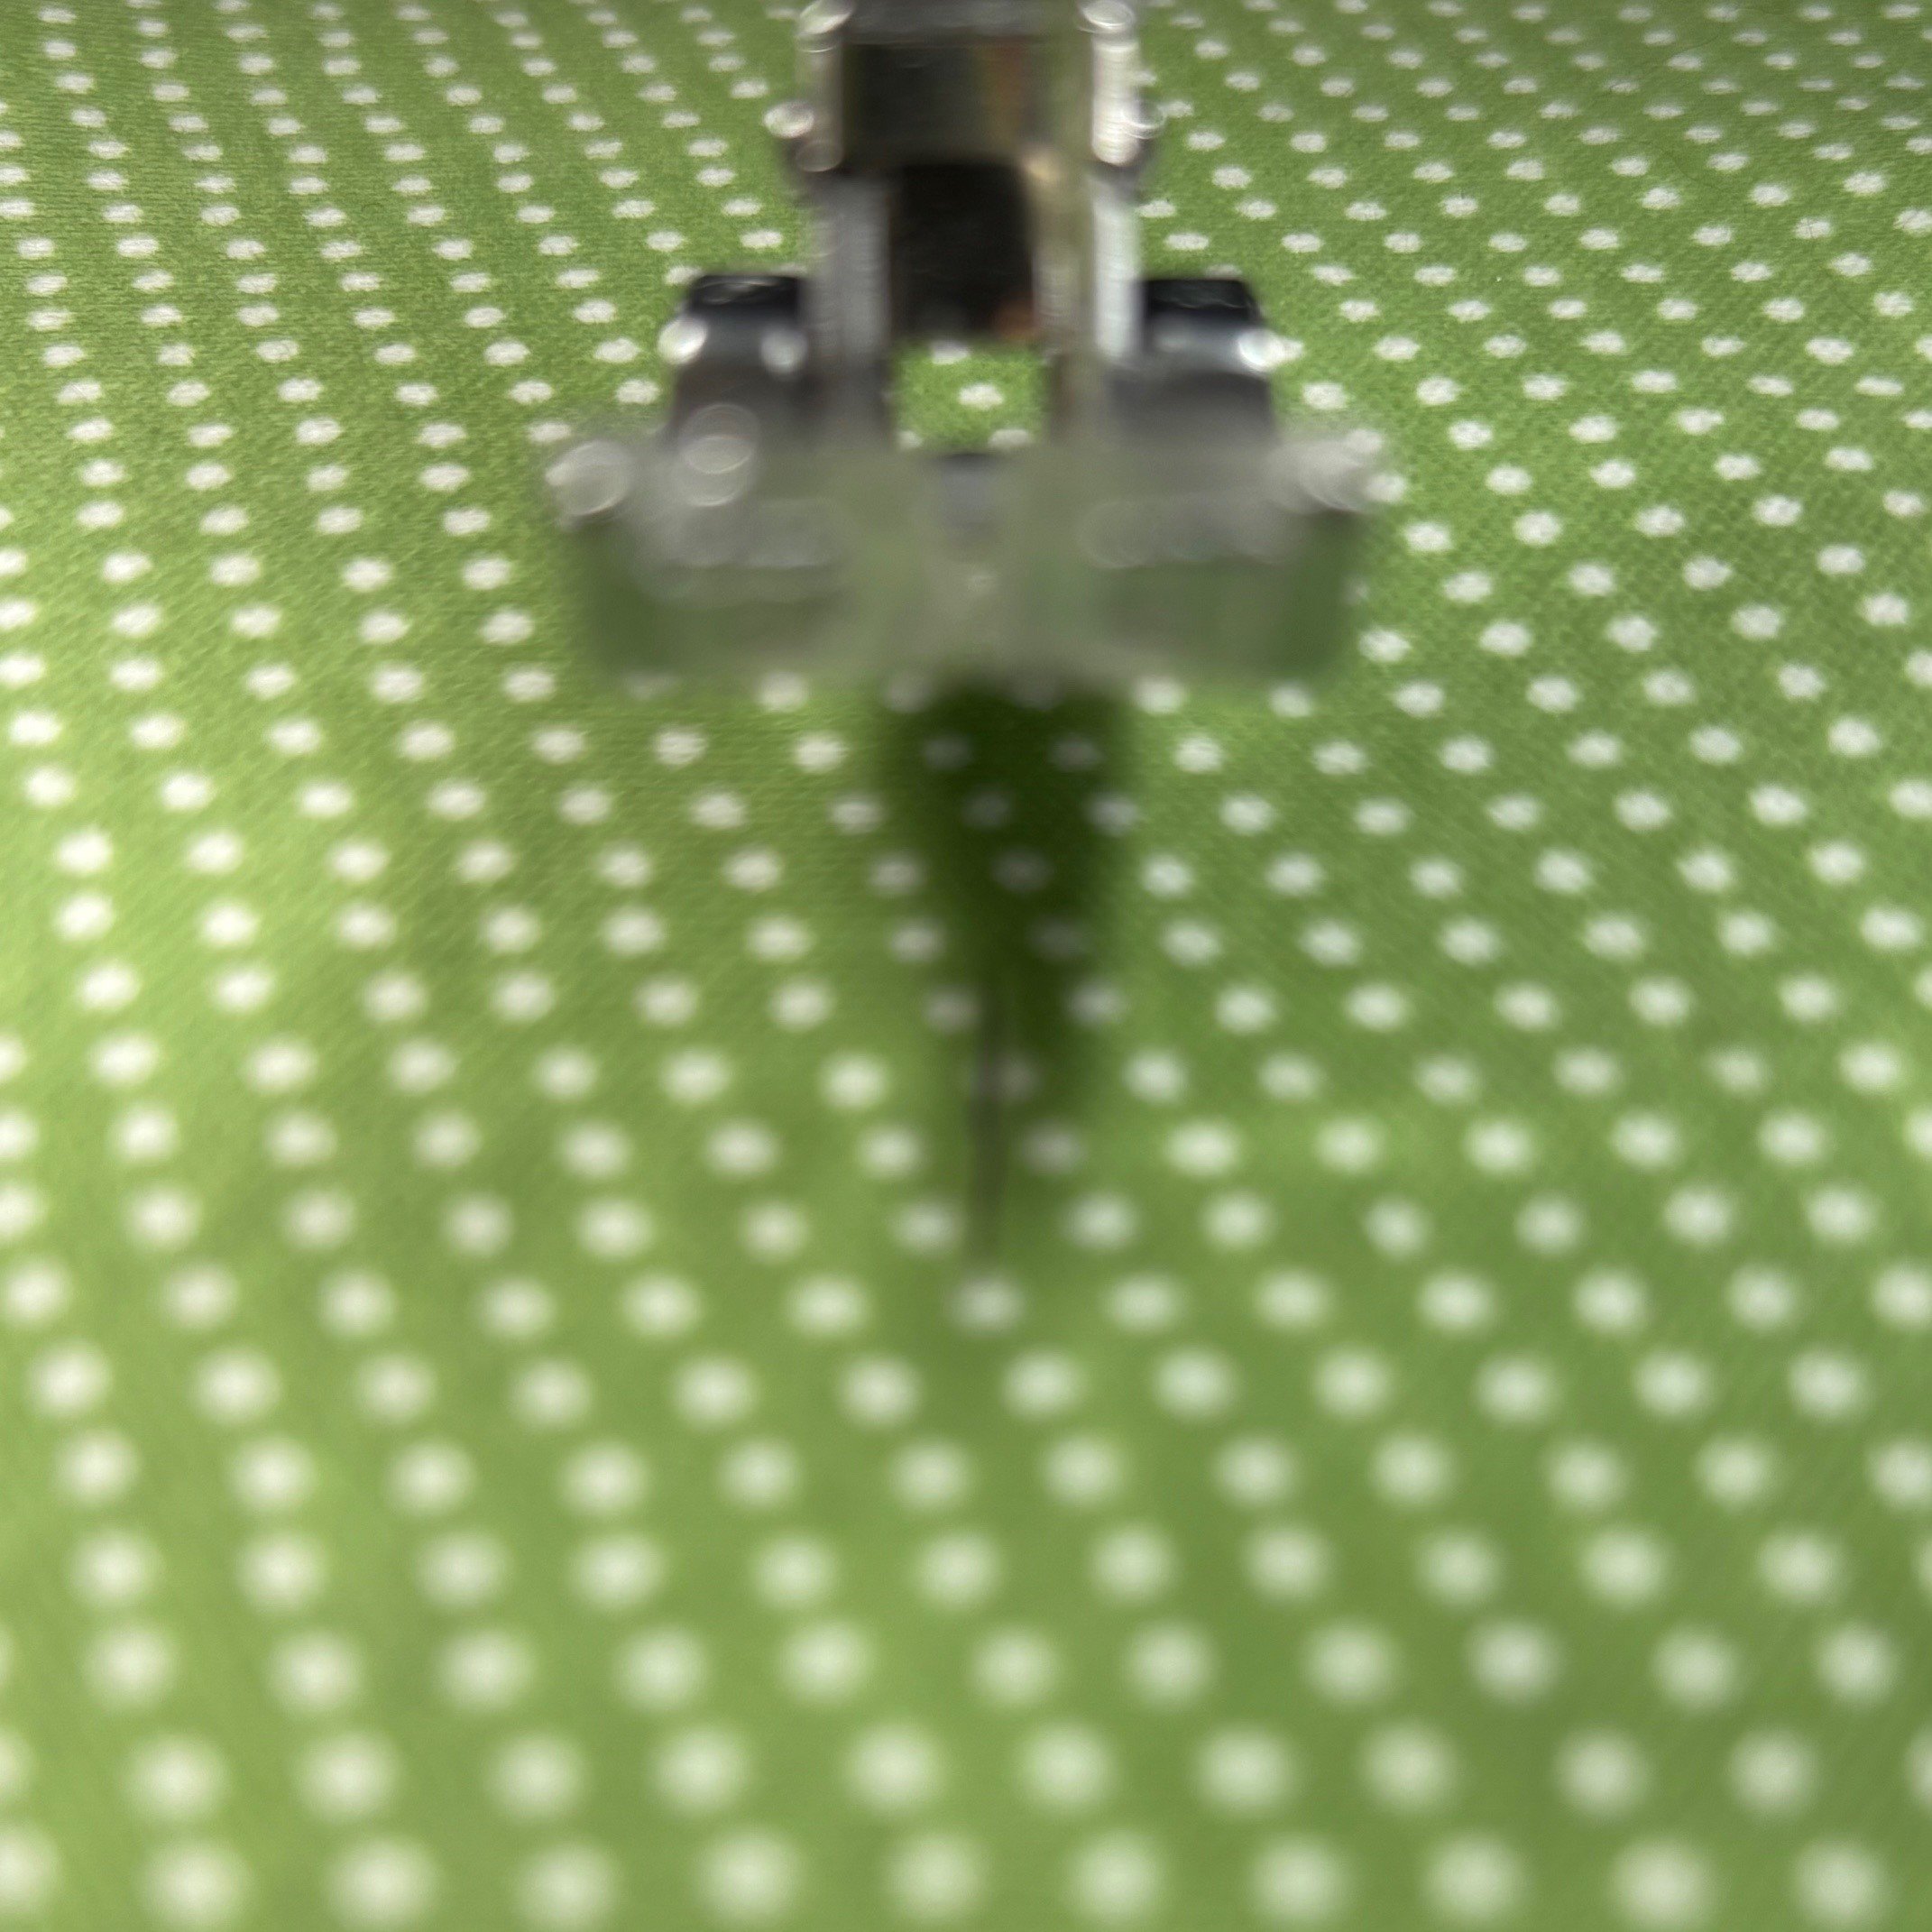
Most modern sewing machines come with an elastic stitch option. Look for a zigzag or lightning bolt symbol on your machine. To use it, simply align your fabric edges, select the elastic stitch setting, and sew along the tear. This method is especially useful for underarm seams, waistbands, and cuffs—anywhere a little stretch is needed.
Reinforce and Strengthen with Interfacing
For larger tears or worn-out areas, reinforcing the fabric is key to a long-lasting fix. One easy way to do this is by using interfacing. Interfacing is a lightweight fabric (available in fusible and sew-in varieties) that adds stability and strength to your repairs.
Here’s how to use interfacing for a tear:
-
Cut a piece of interfacing slightly larger than the tear.
-
Place it on the inside of the garment, covering the damaged area.
-
If you’re using fusible interfacing, follow the instructions to iron it in place.
-
Stitch over the tear using a zigzag or elastic stitch to secure the fabric and prevent further damage.
If you don’t have interfacing on hand, a piece of matching or complementary fabric works just as well. This method not only strengthens the torn area but also gives you a chance to add a creative patch for a unique, personalized touch.

Preventative Care: An Ounce of Prevention…
While mending is a valuable skill, preventing damage in the first place can save you a lot of effort. Here are a few simple habits to keep your clothes in top shape:
-
Wash with care: Follow garment care labels and avoid overwashing delicate items.
-
Reinforce weak spots: Add a few stitches to loose buttons or thin seams before they become full-blown repairs.
-
Store properly: Use padded hangers for delicate fabrics and keep knits folded to prevent stretching.
Embrace the Beauty of Mending
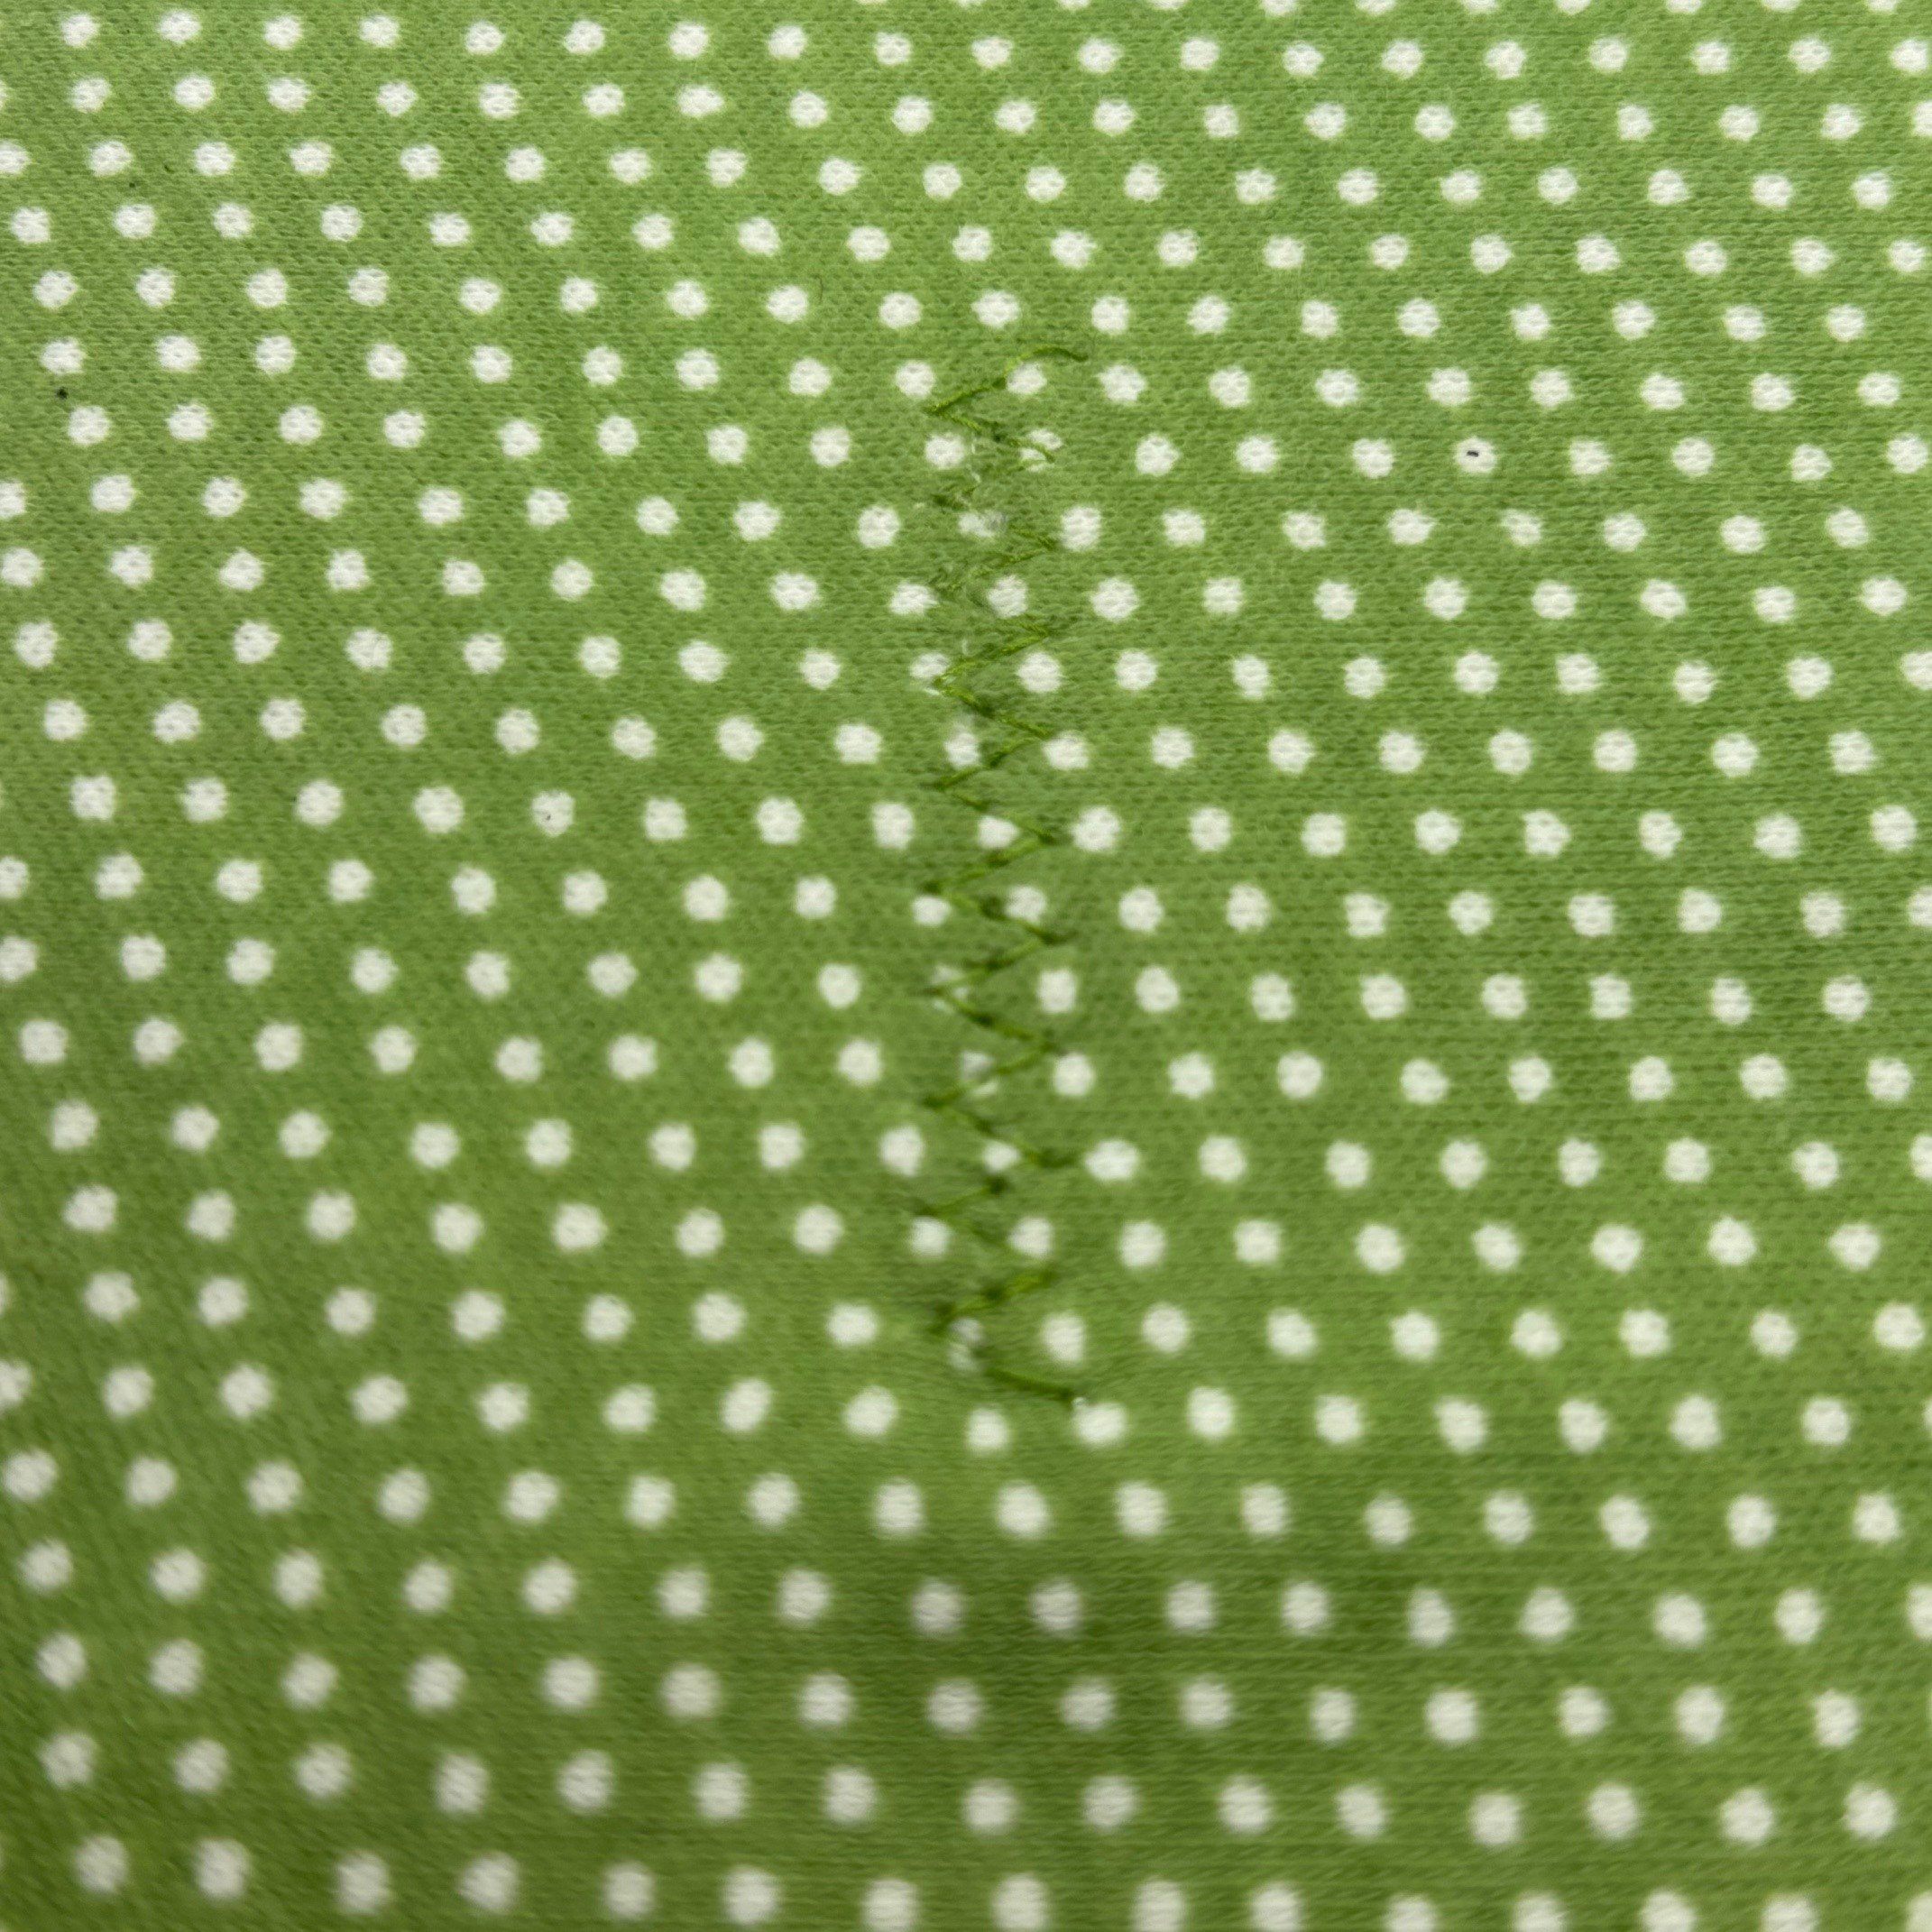
Repairing clothing isn’t just practical—it’s also a way to express creativity and reduce waste. Visible mending, for instance, turns repairs into an art form. Try using colorful thread, unique patches, or decorative embroidery to transform a tear into a conversation starter.
By learning to mend your clothes, you not only give them a second life but also contribute to a more sustainable and mindful approach to fashion. So, grab your machine and thread, and let’s make those favorite pieces last a little longer!
Have you tackled any clothing repairs lately? Share your mending adventures in the comments below—we’d love to hear your tips and tricks!"