Mitering Corners with Your Sewing Machine: Easy DIY Tips to Create Perfectly Crisp Edges
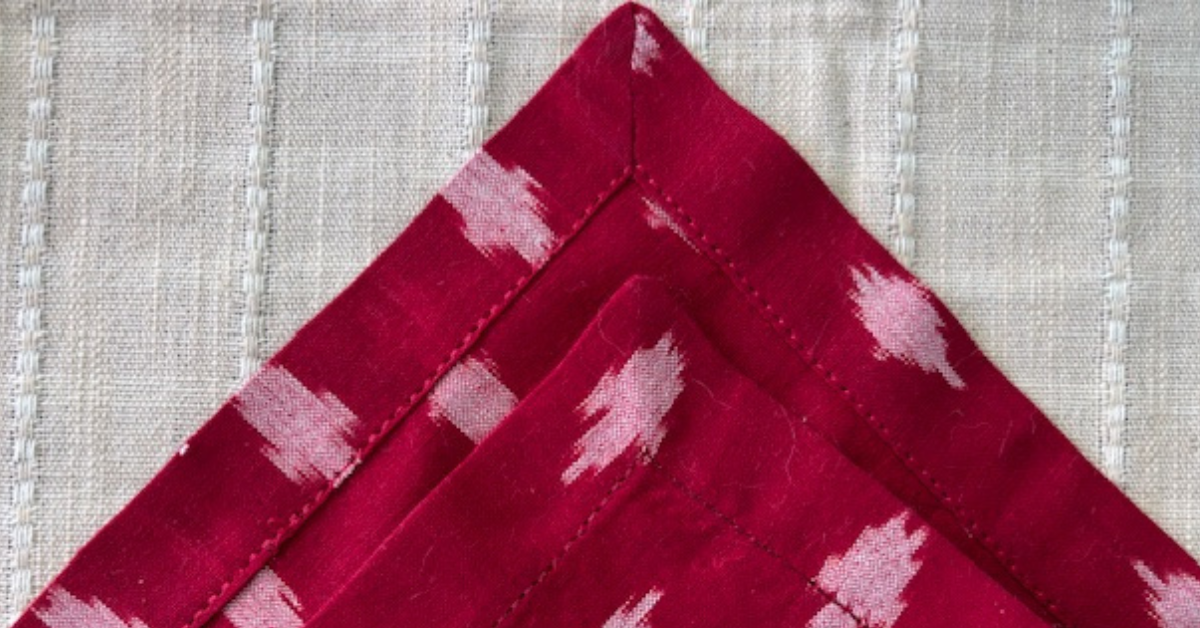
If you’re looking to take your sewing projects up a notch, learning how to miter corners is an excellent technique. Mitered corners provide a polished, professional look, especially on items like napkins, table runners, placemats, and other home décor items. Using a sewing machine makes mitering quicker and more precise, even if you’re just beginning to explore the world of DIY sewing projects. Follow this guide for simple steps to create flawless mitered corners with ease!

What You'll Need
- Sewing machine (some models even come with a laser guide for extra precision)
- Iron and ironing board
- Fabric
- Fabric marker or chalk
- Scissors
- Ruler or measuring tape
Step 1: Start with Folding and Pressing the Hem
To achieve neat, mitered corners, begin by folding and pressing your hems. Pressing the fabric helps “set” your folds, making it easier to sew and keeping the fabric in place as you work.
- Fold the Hem: Decide on your hem width (a standard size is 1/2" or 1"), then fold the fabric along each edge to this width. Press with an iron.
- Fold Again: Fold each edge over again, this time to hide the raw edges of the fabric. Press thoroughly to hold these folds in place.
- Mark the Corner Overlap: When you’ve pressed both folds, you’ll notice a small square forms in each corner where the folds overlap. This will be important for creating your mitered corner.
Step 2: Marking the Sew Line
With your folds pressed, it's time to mark the line where you’ll sew.
- Open the Corner: Unfold the corner slightly so that you can see the square created by the overlapping folds. This square will guide you as you prepare to miter.
- Draw a Diagonal Line: Using your fabric marker, draw a diagonal line from one corner of the square to the other. This line represents the sew line and will give you that neat mitered finish.
- Using a Laser (Optional): If your sewing machine has a laser guide feature, this is where it can really shine! The laser will help you sew along the diagonal line with precision, making it easier to follow the mark you made and maintain a straight stitch.
Step 3: Sewing Along the Marked Line
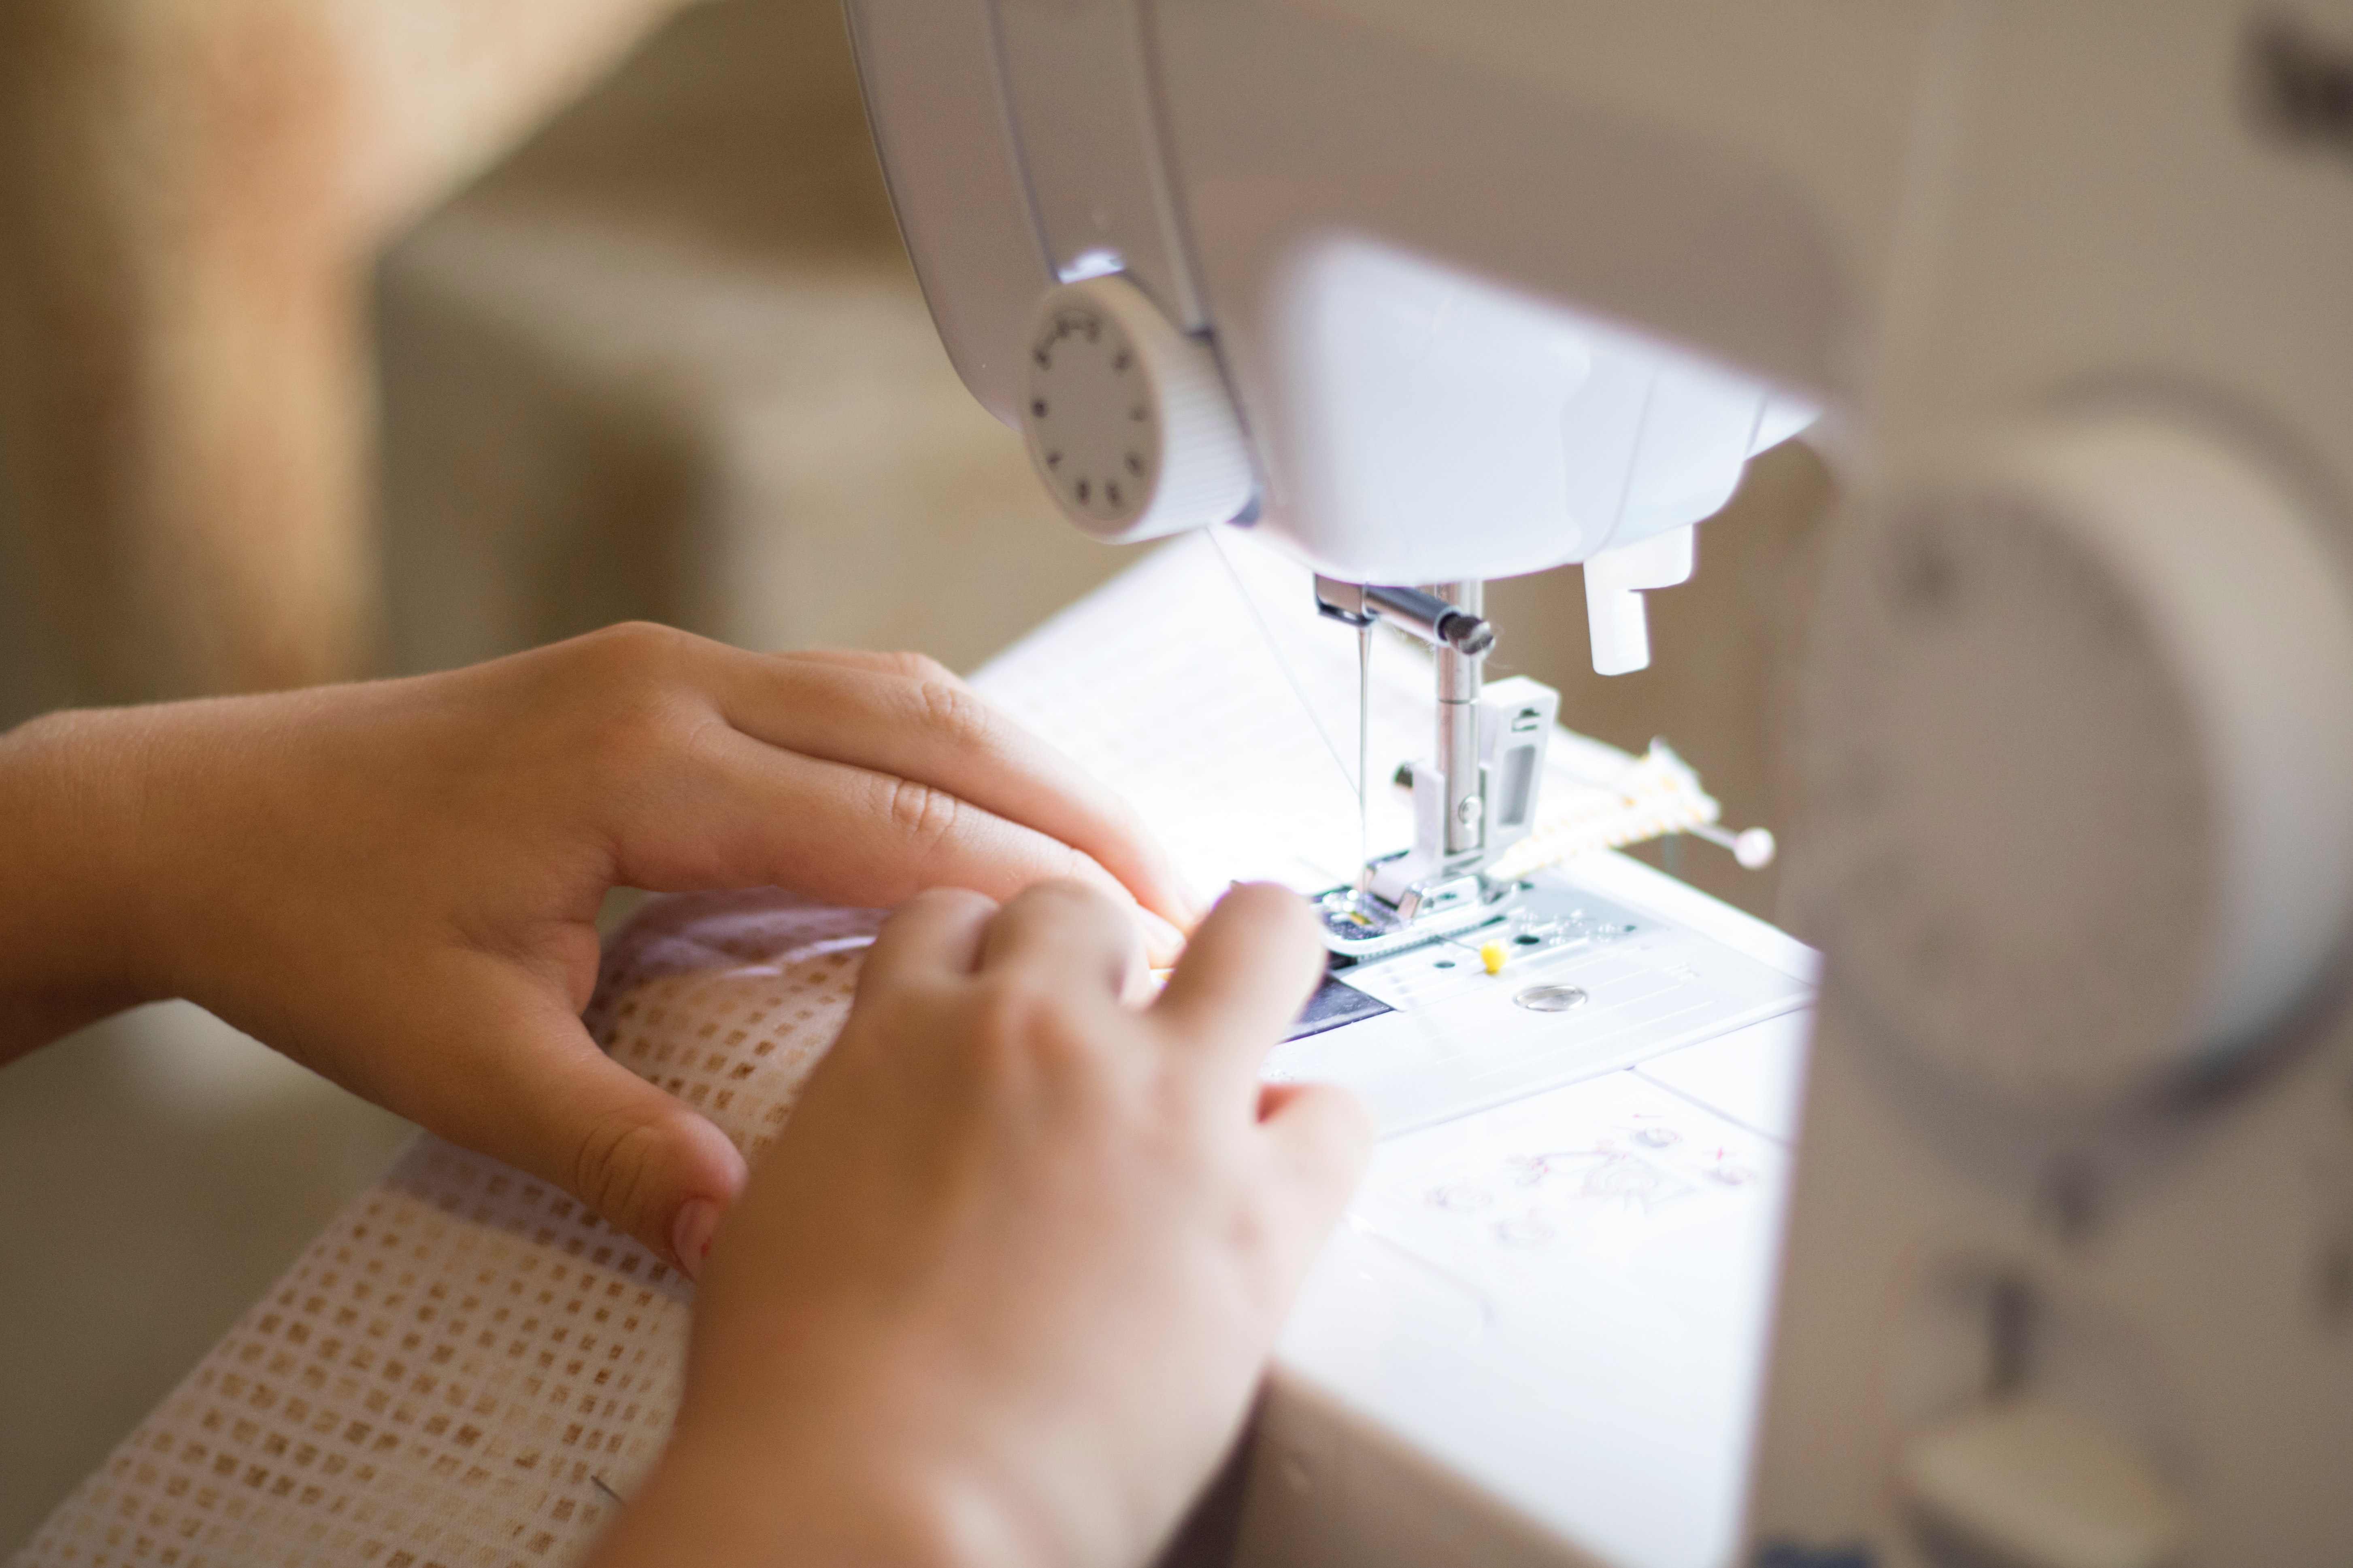
Now that your corners are marked, it’s time to bring your fabric to the sewing machine and sew along that line. This is where having a steady hand pays off!
- Set Up Your Sewing Machine: Choose a straight stitch setting. For beginners, it may help to set your stitch length a bit shorter for better control.
- Sew Along the Diagonal: With the folded hem open, sew carefully along the diagonal line you marked. The laser guide (if available) can help you keep the line straight, especially if you’re new to sewing. Sew slowly for extra accuracy.
Step 4: Trim the Seam to 1/4"
Once you’ve sewn along the diagonal, it’s time to trim away the excess fabric to reduce bulk in the corner.
- Trim the Seam: Carefully trim the seam to about 1/4" from your stitched line. Be careful not to cut too close to the stitches, as this could weaken the seam.
- Remove Bulk from Corners: If you have a lot of extra fabric near the corner, snip a bit off, but be cautious not to trim your stitches accidentally.
Step 5: Turn the Corner Right Side Out
Turning your fabric right side out will reveal the crisp, mitered corner you’ve worked to create.
- Turn the Fabric: Push the corner through to the right side, and use your fingers to shape it. For sharper corners, a point-turner tool or a small object like a blunt knitting needle can help.
- Press Again: Once the corner is turned out, give it a final press to set the shape. This will make your mitered corner look crisp and polished.
Step 6: Finish the Hem
With your mitered corners in place, all that’s left is to sew down the hem to complete your project.
- Refold the Hem: Fold the edges back along the pressed lines you made in the beginning. This keeps the raw edges neatly tucked inside.
-
Sew Along the Edge: Using your sewing machine, sew along the edge of the hem to secure it. If your machine has a laser guide, this is another great time to use it for a precise, straight stitch along the edge.
Tips for Success
- Practice First: If you’re new to mitering, practice on a scrap piece of fabric to get comfortable with the folds, markings, and stitches.
- Use the Right Needle: Make sure you’re using a needle suitable for the fabric weight. Lightweight fabrics need fine needles, while thicker fabrics need sturdier ones.
- Choose the Right Stitch Length: A shorter stitch length provides better control, especially on delicate fabrics, while a longer stitch length is often better for thicker materials.
Why Use a Laser on Your Sewing Machine?
Using a laser guide on your sewing machine isn’t essential, but it can make achieving straight, accurate stitches easier. If you’re mitering corners for the first time or trying to level up your DIY sewing projects, a laser-guided machine can save time and help you produce clean, professional-looking results. It’s a worthwhile feature for sewing enthusiasts aiming to create polished pieces efficiently.
Mitering corners might seem challenging at first, but with a bit of practice, you’ll soon be creating beautifully finished projects on your sewing machine. This DIY technique is perfect for anyone looking to add a polished touch to their work, and it’s a satisfying way to elevate basic sewing skills. Give it a try on your next project—your mitered corners are sure to impress!
-

 By
By

