By
By
One of the joys of sewing is the freedom to create clothes that truly fit you. While commercial patterns are a fantastic starting point, sometimes they’re not quite “just right.” Maybe you want a neckline that feels more comfortable, a sleeve opening with a little extra room, or a hemline with a new flair. The great news? You don’t have to be a professional designer to make these adjustments—you just need confidence, patience, and a few tools.
In this blog, we’ll walk through how to start altering patterns in baby steps. With practice, you’ll soon be adding your own personal touch to every project!
Start with What You Know and Love
The best way to begin altering patterns is by starting with something familiar—like an old, tried-and-true favorite pattern. Think about that tank top pattern you’ve made five times because you love the fit (I know we all have one!). Since you already know how it sews up, you can confidently experiment without worrying about the basics.
For example, I recently adjusted a tank top pattern I love by widening the armhole slightly and raising the neckline for more coverage. These were simple tweaks that made the top feel even better to wear, and they gave me a confidence boost to try more changes next time.
Baby Step 1: Adjusting the Neckline
Changing a neckline is one of the easiest and most satisfying alterations you can make.
-
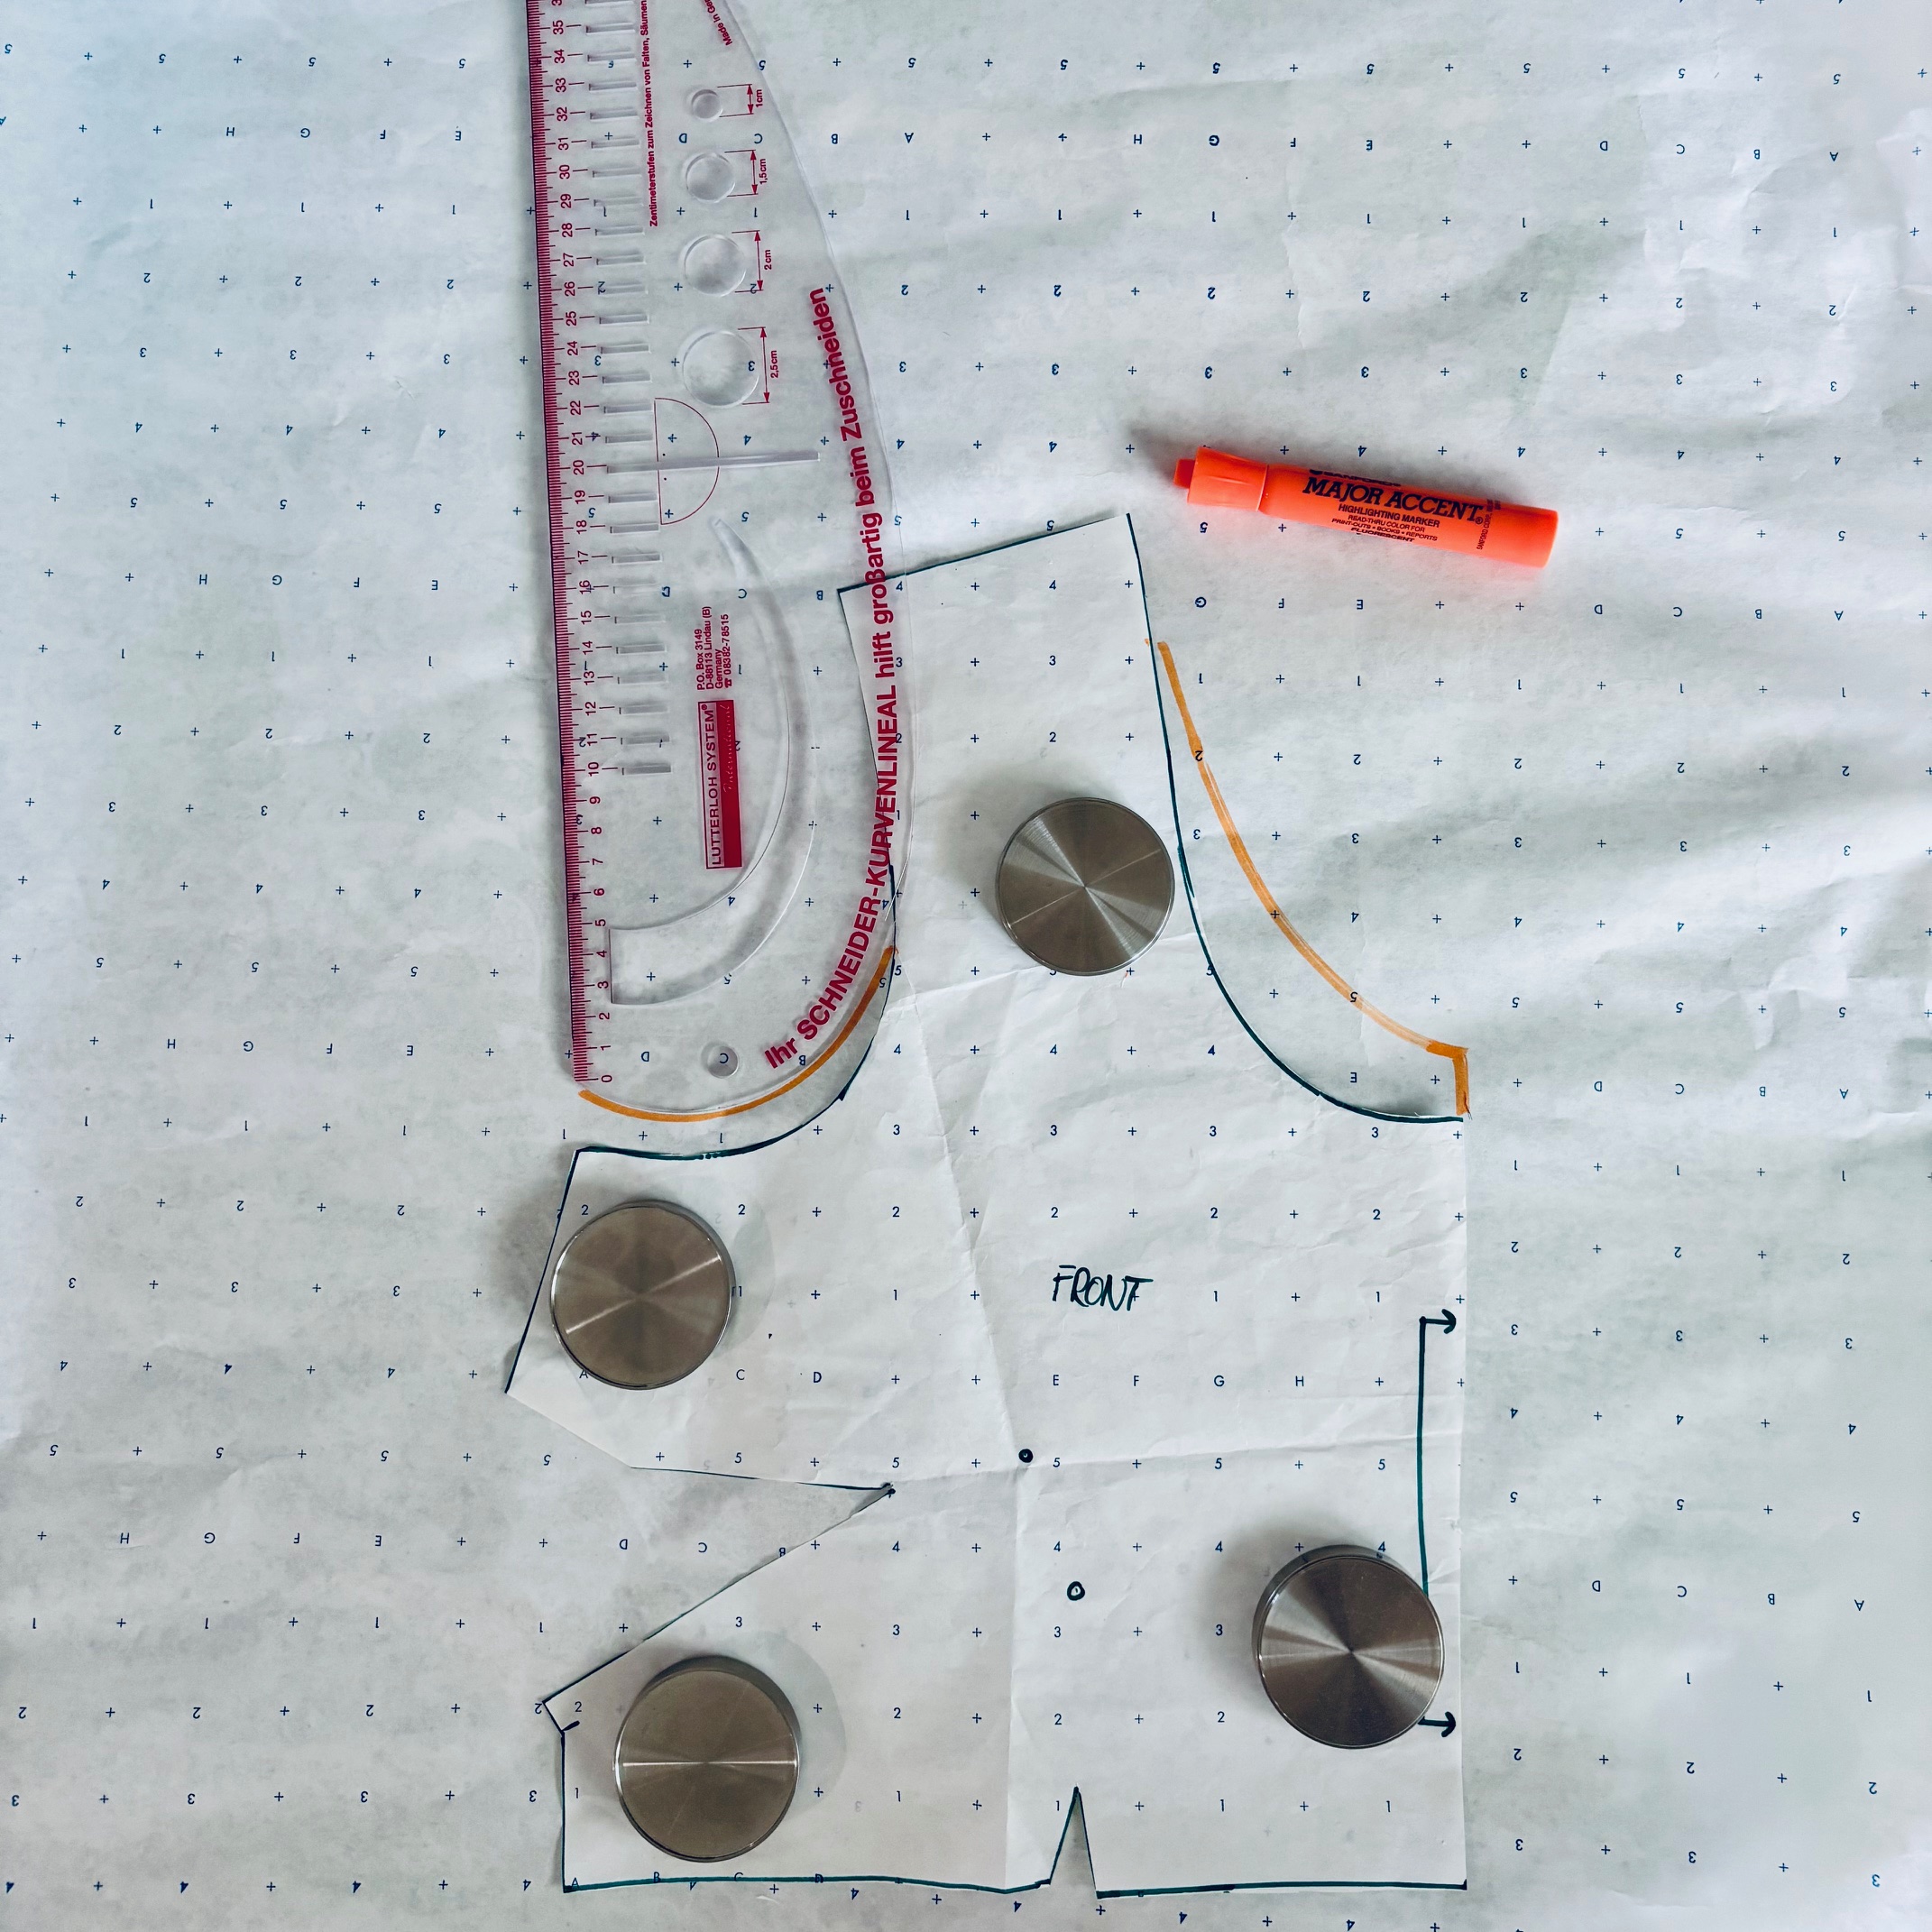
Raise or lower: Draw a gentle new curve with a curved ruler to either bring the neckline higher for more coverage or lower for a breezier style.
-
Try different shapes: From scoop to V-neck to boat neck, small adjustments can completely change the look.
-
Tip: Always redraw the facing or bias binding to match your new neckline curve, so finishing is smooth and professional.
Baby Step 2: Adjusting Sleeves and Armholes
If you’ve ever felt a sleeve binding or armhole cutting in just a bit, this is where you can give yourself some wiggle room.
-
To widen: Extend the armhole curve outward slightly on your pattern, blending smoothly back into the original shape.
-
To narrow: Bring the curve in for a closer fit.
-
Tip: When working with sleeves, remember that changing the armhole also means you may need to adjust the sleeve head. Keep changes small at first to make sewing easier.
Baby Step 3: Play with Hemlines
Another simple change? Adjust the hemline.
-
Straight hem into a curved one.
-
Add a little extra length for a tunic.
-
Shorten to make a cropped top.
Hems are a fantastic place to experiment because they don’t affect how your garment goes together—you’re just adding your personal style.
Tools That Make Altering Easier
Having the right accessories on hand makes the process less intimidating and more fun:
-
Curved ruler (French curve): Perfect for redrawing necklines and armholes.
-
Markers or pencils: Use erasable fabric markers or sharp pencils to clearly see your changes.
-
Pattern paper: Gives you space to redraw shapes without cutting up your original pattern.
-
Tape & scissors: To add or remove paper pieces as you alter.
-
Muslin fabric (optional): A practice version lets you test your adjustments before cutting into your good fabric.
Take It One Change at a Time
It’s tempting to dive in and completely redesign a pattern, but the easiest way to learn is by making one change at a time. Try raising the neckline first. On your next project, adjust the armhole. With each step, you’ll gain confidence and understand how your changes affect fit and construction.
Think of it as a learning journey—every alteration, no matter how small, adds to your sewing skills.
Why Pattern Alterations Are Worth It
-
Better fit: You’ll finally have garments that feel comfortable and flattering.
-
Personal style: Even a simple pattern can become uniquely yours with small tweaks.
-
Confidence boost: Nothing feels better than saying, “I made this—and I customized it, too!”
Ready to Try?
If you’ve been nervous about altering patterns, I encourage you to start small. Grab your favorite old pattern, a curved ruler, and some paper, and just play around. Take baby steps, keep your changes simple, and don’t forget—you’re in charge of the sewing room!
Soon, you’ll find yourself confidently transforming patterns into one-of-a-kind garments that feel like they were designed just for you.